Creamy Roasted Cauliflower Soup
My son calls me contrary and after a time I have embraced that description. There is no shame in marching to the beat of a different drummer and while the world has been setting the visible preamble for the holidays well before Halloween, I have taken my time before thinking of the cookies, cakes, and celebratory meal. I think it is just my internal time clock, still working on that schedule so well ingrained over time that even the notion of making holiday treats a month or more in advance is indeed contrary to my very being. I will be ready next week, the menu set and timetable established. My mind ready to relish each and every moment. So instead of a sweet bread, candy, or cake I offer you a rich, savory soup to be made and enjoyed any time, perhaps mid-week before the big day. For those who have doubts about cauliflower this is a heady revelation, creamy, not gritty; layered with flavor, yet without dairy or meat. Complex. Inspired by the on-trend technique of roasting a large head of cauliflower, I looked further and added peppers, onions, garlic and herbs for one meal and transformed the remainder into a beautiful creamy soup. 
- 1 tablespoon olive oil
- ¾ cup finely chopped shallot (1 large)
- 4 cups roasted cauliflower
- 3 cups roasted potatoes (I used Yukon Gold)
- 1 roasted yellow pepper
- 1 roasted yellow onion
- 2 roasted garlic cloves
- 2 teaspoons Organic Better than Bouillon Low Salt Vegetable Stock
- 4 cups water, plus more as needed for consistency
- I roasted the vegetables for a previous meal and saved the leftovers for this soup. It is easy to increase the quantities in preparation for a new dish. I
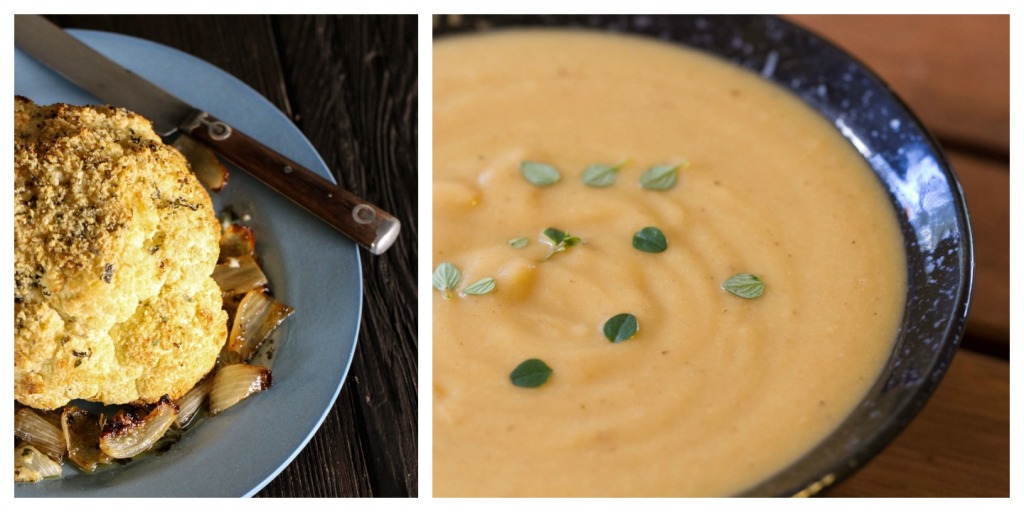
- To roast a whole cauliflower
- Why not make two while you are at it so you have leftovers for soup!
- Cut the stem of the cauliflower so it lies flat on a baking sheet. Rub all over with olive oil and a ¼ cup mix of fresh herbs (parsley, rosemary, sweet marjoram, oregano, and ½ teaspoon granulated garlic mixed with 1 teaspoon kosher salt, ⅛ teaspoon black pepper). Spray the baking sheet with vegetable spray then lay out your cut peppers, thick sliced yellow onion. Drizzle with olive oil. Place the whole cauliflower stem side up and bake at 425℉ for 25 minutes, then turn over, rotate or turn other vegetables. Continue baking 25 more minutes then sprinkle top of cauliflower with parmesan cheese and finish baking (about 5-10 minutes more for a toasty golden top.) Remove vegetables if they are getting too dark, though you will want them nicely caramelized. Don’t forget to remove the blackened skin of your peppers before processing further.
- To roast whole garlic: cut off top of whole garlic, place on a piece of foil, drizzle with olive oil and wrap up the whole thing tightly. Place on baking sheet with your other vegetables.
- Warm olive oil in a 3.5 quart pot over medium heat. Add chopped shallot and cook until softened.
- Add chopped cauliflower, potatoes, roasted pepper, onion, and garlic to pot. Stir to mix.
- Mix the bouillon into 4 cups hot water and pour into pot to just cover vegetables. You may add another cup if it doesn’t cover.
- Bring to a gentle boil, then lower heat and simmer for 30 minutes until all vegetables are very soft.
- Take off heat and puree broth and vegetables in two batches in your blender. Be careful with the hot liquid and be sure to cover top of blender to prevent scalds. I used a NutriNinja Auto-IQ Blender Duo and the locking lid kept the mixture nicely contained.
- Pour the thick and creamy soup back into the pot, add up to 2 cups more water for the right consistency.
- Taste and add more salt and pepper to your liking. I added another ½ teaspoon salt and ⅛ teaspoon white pepper.
- Warm over low heat a few minutes to bring back up to temperature and serve.
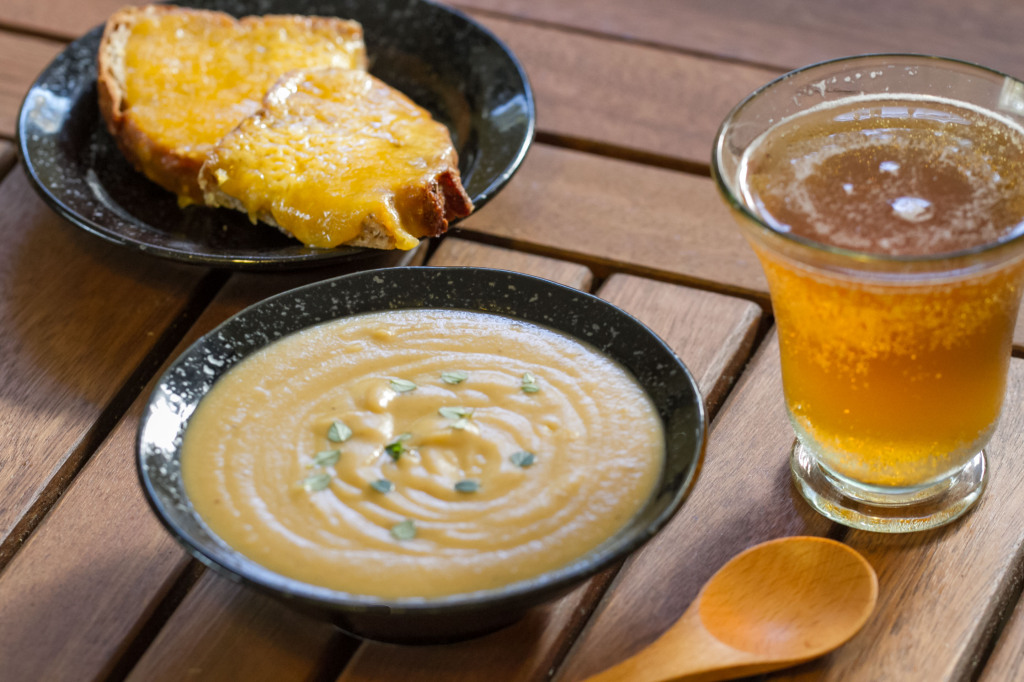
The perfect light lunch or dinner, a cup of savory soup, melted cheddar cheese on whole grain bread and perhaps a glass of beer.

The key to the success of this soup is how well your blender works on developing an even and creamy puree. I used my new Nutri Ninja Auto-IQ Blender Duo which I received to test by attending the International Food Bloggers Conference in Seattle. I had been contemplating purchasing a juicer and am glad I held off after running several whole food concoctions through the Ultrablend setting. As a geek at heart I am intrigued by the science of the timed settings that alternate speeds and rotations for the perfect blend. Rough cut, unpeeled apples transformed into a drink without chunky, gritty and bulky pieces within a minute, I was both pleased and surprise. I conducted further tests; chopping, smoothifying and using sauce recipes with success. Granted my husband likens the running sounds to a helicopter, yet, this is easily forgiven as it delivers in output quality. One of the best features is the locking lid with the pour flap. Frequently with my older blender the chance of spills and scaldings were high and more than a bit troubling. This design is well built, solid and the locking lid has not failed me yet. The unit comes with a booklet of recipes ranging from juices, dips and soups to get you started in understanding the best settings and processes. I am looking forward to using this powerful blender system as a key member of my kitchen toolkit.
Links
DISCLOSURE: I received the Nutri Ninja Auto-IQ Blender for testing purposes and I have received no further compensation. The above comments are my own. This post is the second in a series of those attending IFBC (International Food Bloggers Conference) in exchange for the reduced “bloggers” rate for attendence fees.


I just made this tonight, lovely and delicious, thanks Robin! – jen goodheart
Yay! I am so glad you liked it. Thanks so much Jen for letting me know. (heart skips beat….)